Bands
Add and shape bands
| To | Do this |
|---|---|
| Add a band | Press + in the strip, double-click the display, or drag a peak in the spectrum. A new band from + lands at 1 kHz with its frequency ready to type. |
| Move a band | Drag its dot: left and right is frequency, up and down is gain. |
| Change Q | Scroll over the dot. |
| Nudge a band | Arrow keys: frequency in small steps, gain in half-decibel steps. |
| Let a band go | Press Esc. The dot releases the keyboard to your DAW. |
| Snap to a note | Hold Shift while dragging. The crosshair names the note under the dot. |
| Turn a band off | Click its power symbol. It stays on the curve as a hollow dot, out of the sound, so you can bring it back. |
| Reset a band | Right-click the dot and choose Reset Band. It becomes a fresh bell in the same slot. |
| Remove a band | Press Delete, click × in the band panel, or use the dot’s menu. Undo brings it back. |
Up to 24 bands. The band pop-up in the strip lists every band on the curve.
Where each setting lives
Every band setting appears in three places that always agree:
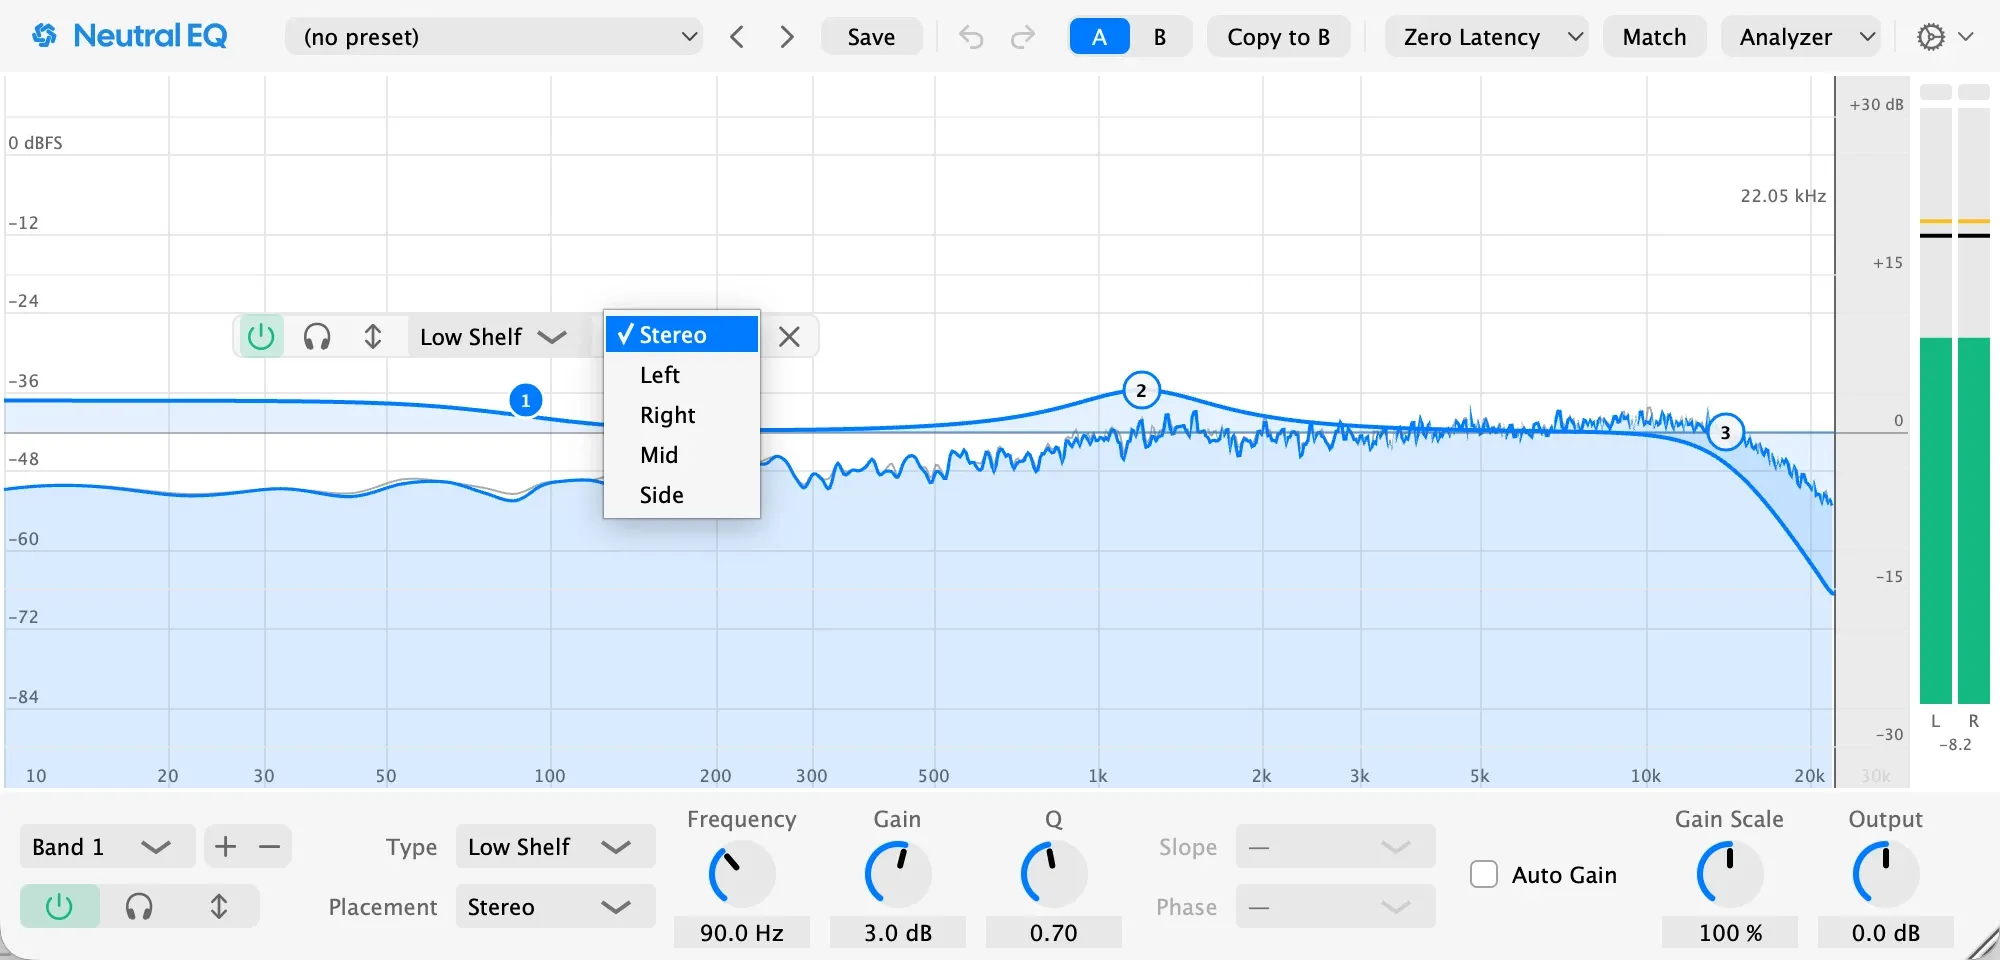
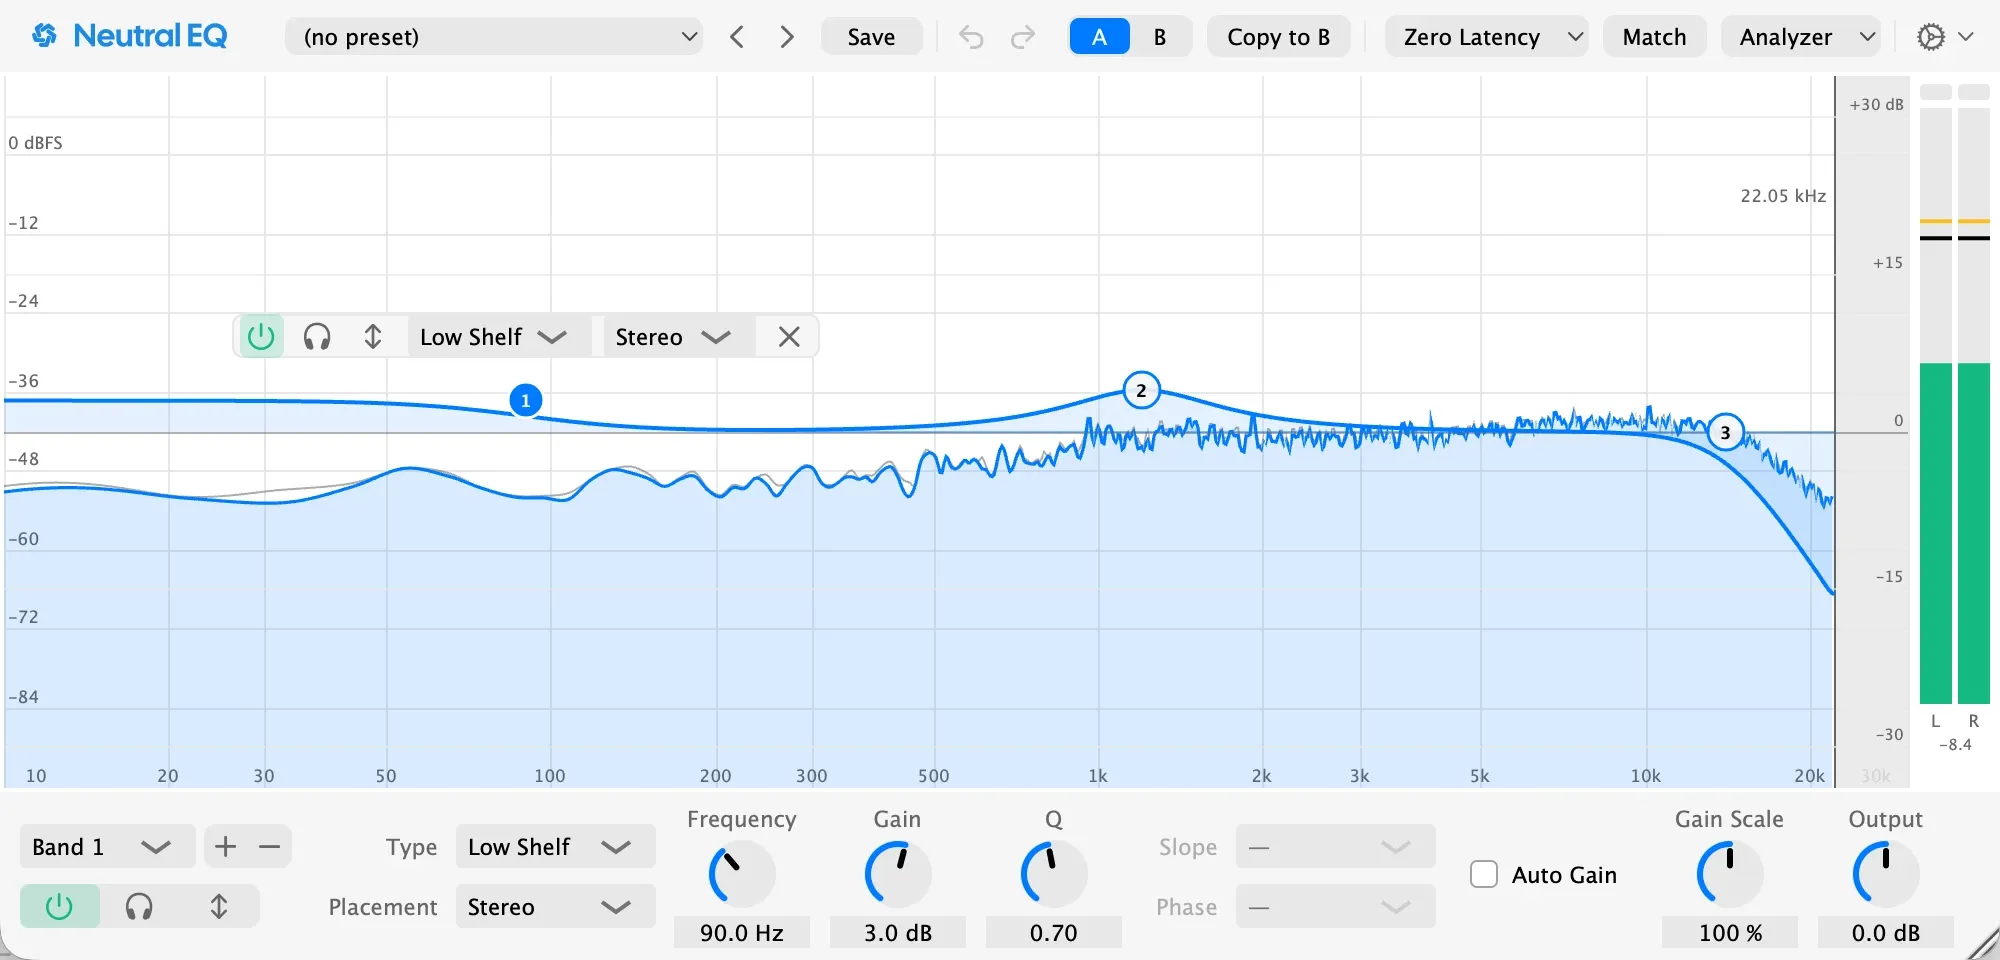
- The band panel, next to the selected dot: on, solo, dynamic, type, placement, slope, phase, and remove. It sits above the dot for a boost and below it for a cut, so the shape you drew stays in view.
- The dot’s right-click menu: the same items, plus Reset Band.
- The strip along the bottom: the band pop-up with its On, Solo, and Dynamic switches, then type and placement, then the Frequency, Gain, and Q knobs, then slope and phase. Drag a knob, or double-click it to type a value.
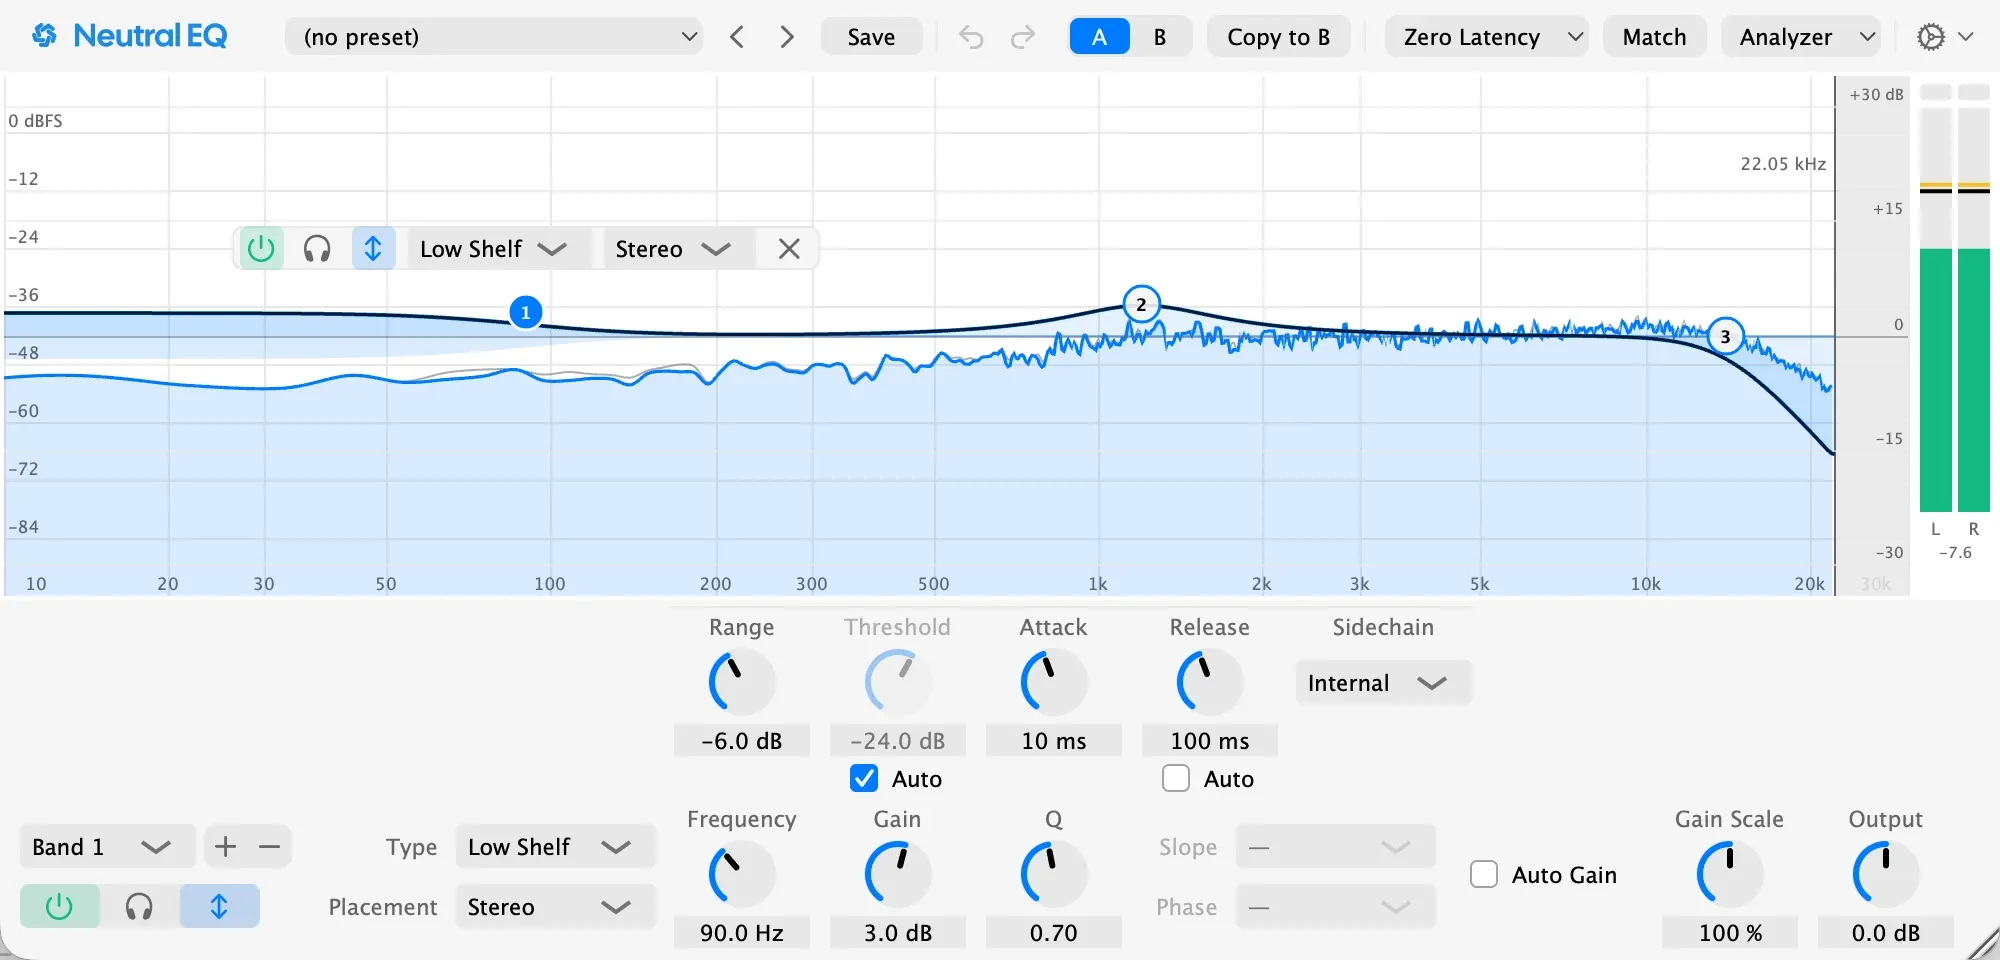
A control that doesn’t apply to the band, like gain on a cut, stays in place, greyed out with a dash, so the row never moves.
Band types and placement
| Type | Use it to |
|---|---|
| Bell | Boost or cut around one frequency. |
| Low Shelf, High Shelf | Lift or lower everything below or above a frequency. |
| Tilt Shelf | Tip the whole balance darker or brighter around a center frequency. |
| Notch | Remove a narrow ringing frequency completely. |
| Band Pass | Keep only the region around a frequency. |
| Low Cut, High Cut | Remove everything below or above a frequency, at slopes from 6 to 96 dB per octave. |
Placement sets which part of the signal a band shapes: Stereo, Left, Right, Mid, or Side. On surround tracks every band shapes every channel. A band off Stereo shows its letter on its dot, and the curve splits into two, Left and Right or Mid and Side, each named by its letter at the right edge; the lane holding the band you’re editing is solid and the other dotted, both in the track’s colour. Mixing Left or Right bands with Mid or Side bands shows each of those bands alone, because no pair of curves is true then.